Develop and Install a Windows Service in .Net Core
In this article we will see how to create a windows service and write certain data in a notepad with database connection. For this let know about windows ser first.
Windows Service
In Windows NT operating systems, windows service is a computer program that operates in the background. It is similar in a concept to a Unix daemon. A Windows service must confirm to the interface rules and protocols of the Service Control Manager, the component responsible for managing the Windows services.
Now let’s create a windows service.
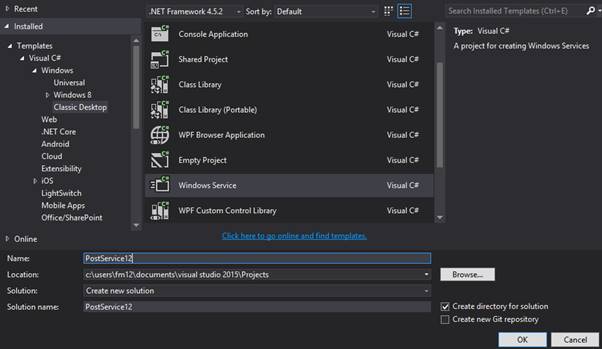
- Open Visual studio (In my case I’m using Visual Studio 2015 Update 3)>> File >> New Project
- Navigate to Visual C# in the left side of Visual Studio Templates >> Windows >> Classic Desktop.
- Choose windows service and provide a suitable name to the project.
- Click on OK.
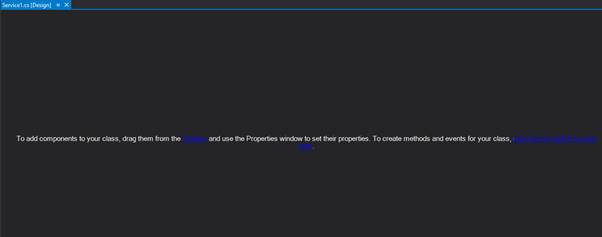
This will take a few second to create our project and the first screen appears like this:
Now let’s rename the service1 to FileCreationService.
Now click on”Click here to switch to view”in the FileCreationService and it will show us the code written in it.
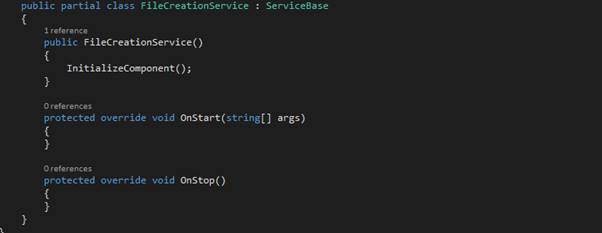
Now let’s add some code here as shown in the code snippet below:
using System;
using System.Collections.Generic;
using System.ComponentModel;
using System.Data;
using System.Diagnostics;
using System.Linq;
using System.ServiceProcess;
using System.Text;
using System.Threading.Tasks;
using System.Threading;
using System.IO;
using System.Data.SqlClient;
namespace WindowsService4
{
public partial class FileCreationService : ServiceBase
{
Thread th;
bool IsRunning = false;
public FileCreationService ()
{
InitializeComponent();
}
protected override void OnStart(string[] args)
{
//
th = new Thread(DoThis);
th.Start();
IsRunning = true;
}
private void DoThis()
{
while (IsRunning)
{
string connstr = "Data Source=ALOK-PC;Initial Catalog=GYB_DB;User Id=sa;Password=sa";
SqlConnection conn = new SqlConnection(connstr);
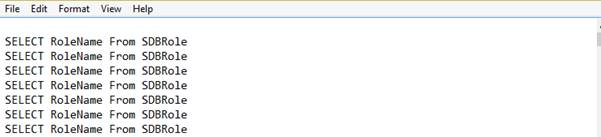
string sql = "SELECT RoleName From SDBRole";
SqlDataAdapter da = new SqlDataAdapter(sql, conn);
DataSet ds = new DataSet();
da.Fill(ds, "SDBRole");
File.AppendAllText(@"E:\Sundar.txt", Environment.NewLine + "" +sql );
}
}
protected override void OnStop()
{
IsRunning = false;
th = null;
}
}
}
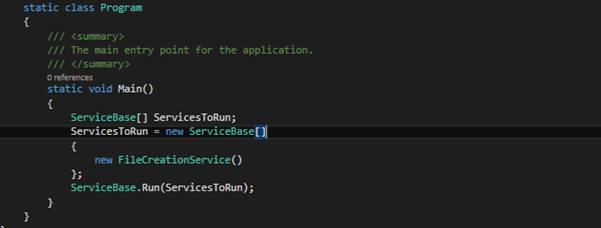
Here we have inherited our class from ServiceBase. Now lets call FileCreationService.cs in our program class as shown in the code snippet below:
Now let’s install the installer. To do so:
- Go to FileCreationService in Solution Explorer.
- Right Click >> Add Installer
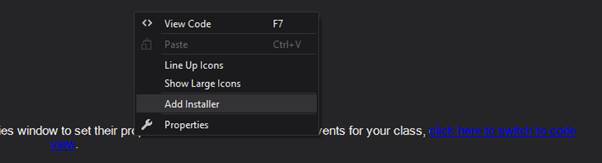
This will add the ProjectInstaller.cs in our project and appears like this:
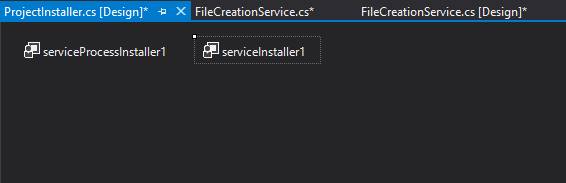
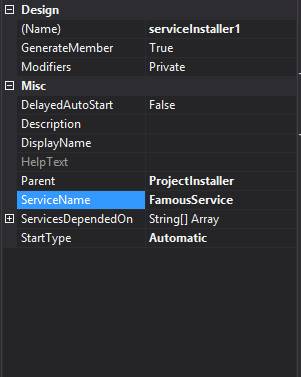
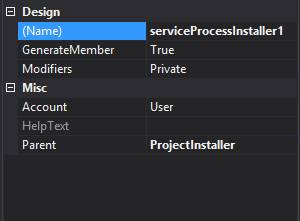
- Now Right click on serviceInstaller1.
- Properties >> We can change our ServiceName, Start Type
- Now go to properties of serviceProcessInstaller1.
- Change the Account to Local System.
We haven’t install our service yet. To install as a windows service we will install Visual Studio Installer. There is another way too but its little bit complicated. I find this way simpler to use. Now go to https://marketplace.visualstudio.com/items?itemName=VisualStudioClient.MicrosoftVisualStudio2017InstallerProjects and download the visual studio installer and install it closing the Visual Studio.
After installing visual studio installer, again open our project.
- Right click on our project >> New Project
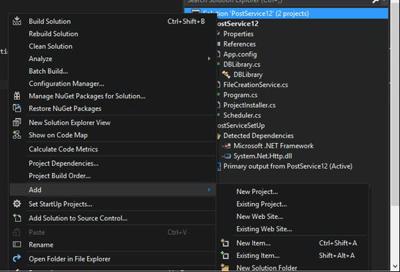
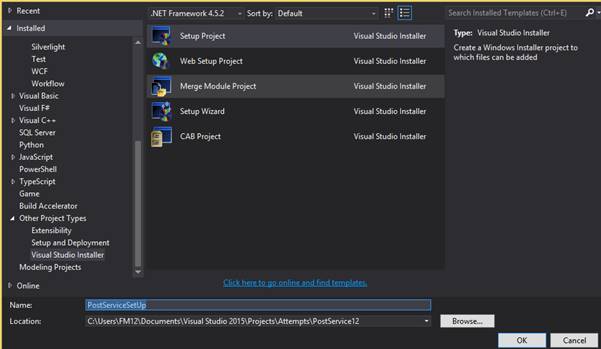
- Other Project Types >> Visual Studio Installer >> Setup Project.
- Provide a suitable name as shown in the figure below:
After adding the Setup Project out Solution Explorer looks like this:

Right click on FileCreationServiceSetup and Add >> Project Output >> Primary Output >> Click on OK.
Again right click on FileCreationServiceSetup >>View >> Custom Actions.

Now Right click on Install folder >> Add Custom Actions >> Double click on OK.
Now build the application . To build the solution we can right click in the solution and build the solution or click on build on the top of the Visual Studio and click on Build Solution or just press Ctrl +shift + B.
After building the solution now we need to build our Setup Project.
- Right click on PostServiceSetup >> Build
This will take a few seconds. After completion of build ,
- Right click on the PostServiceSetup..
- Open Folder in File Explorer
- Open folder Debug>> Double Click on setup.exe
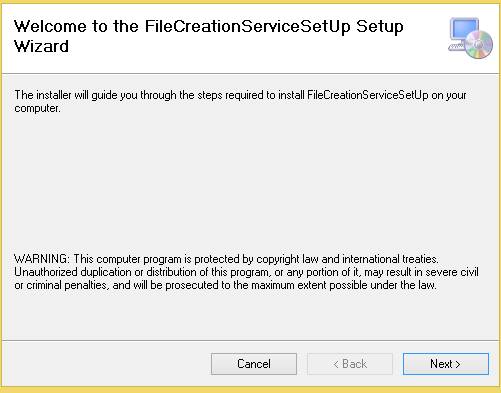
- Click Next >> Choose Everyone >> Next >> Next >> Close.
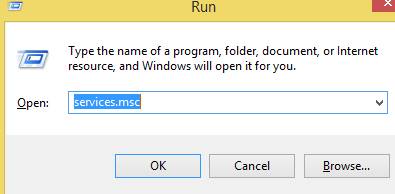
- Now go to Run >> services.msc
And see if our service exists there or not.

We had provided FamousService as a name of our service. And as you can see there exists our service. Its on Automatic in Startup Type as we had defined.
Right click on the service and start the service to check whether there is problem or not. Service should start successfully. If not then you’ve probably missed some above steps.

Output: