HOW TO CREATE A WEBSITE WITH CONTENTDER IN SIX EASY STEPS?
Websites are all the rage right now.
It’s 2019, and if your business does not have a website, then, you are losing some serious potential leads.
There was a time when creating websites were like a nightmare - a big budget, long time to complete and you had to depend upon an expert. Also, you had to find the right designer, buy domains, and so many other technical issues that needed to be taken care of.
Whew! All of that used to be so bothersome.
However, now, with advanced technology, platforms are present where even a non-expert can create websites all by themselves.
Yes, I am talking about website builders.
So, what is a website builder?
To simply define, a website builder is a program that helps you in creating a website all by yourselves without having any coding knowledge or experience. A website builder usually consists of an inbuilt editor where users can design their own pages or use an already existing template and then just edit the content.
Now, isn’t that amazing?
After I found out about this, my dream of creating a website by myself was just a step away. I got ecstatic and started to learn more about this. I set on to find platforms that would fill my requirement, i.e., easy to use editor, pre-designed customizable templates, domain hosting and customer support.
I found quite a few popular international ones, but I wanted to try a website builder platform that was created in Nepal. After a few Google searches, I landed upon a recently created platform going by the name – Contentder.
Well, the name itself hooked me. I also found out that Contentder was just recently launched in 2017 and within two years had taken quite a good market. Contentder is a framework that collaborates website development and digital marketing into a single platform. Even though this company was associated with an Australian based company, the actual development was done here in Nepal only. That was one other factor that impressed me.
So, why I loved Contentder?
Because it was able to fulfil all the requirements that I had listed down beforehand. The platform was straightforward to use, and the editor section was so smooth and customizable.
That is why I decided to write this article and share in detail how I created my own website with Contentder.
So, let’s move onto the step-by-step guide.
STEP 1: Sign Up
The first step you need to complete is registering with Contentder.
To do so,
- Go to Login and click on Sign Up.
- Enter your email, password and solve a simple math problem.
- Agree to the Terms of Use and Privacy Policy and click on Register.
- Your account will be registered, and you will be notified via email.
- Then, all you need to do is login with your credentials and move onto the next step.
STEP 2: Get your domain
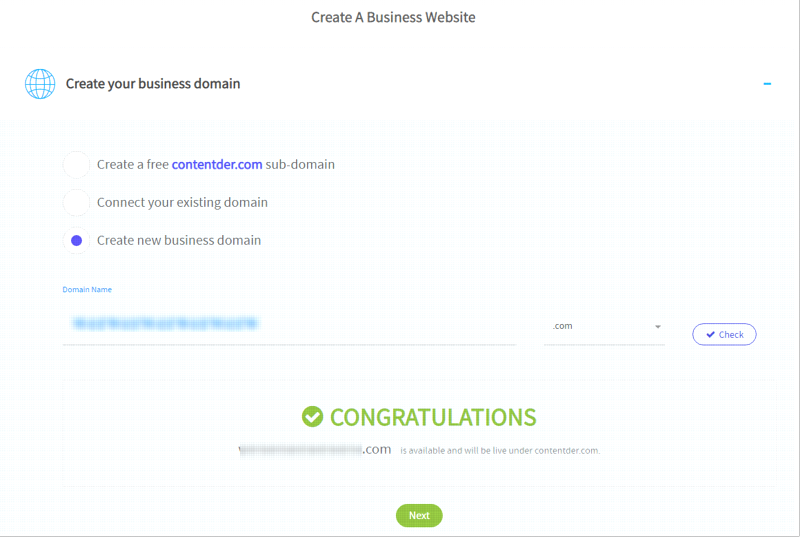
- Open the Contender homepage and click on Get Started.
- Create your business domain.
- I selected Create new business domain.
STEP 3: Choose your Template
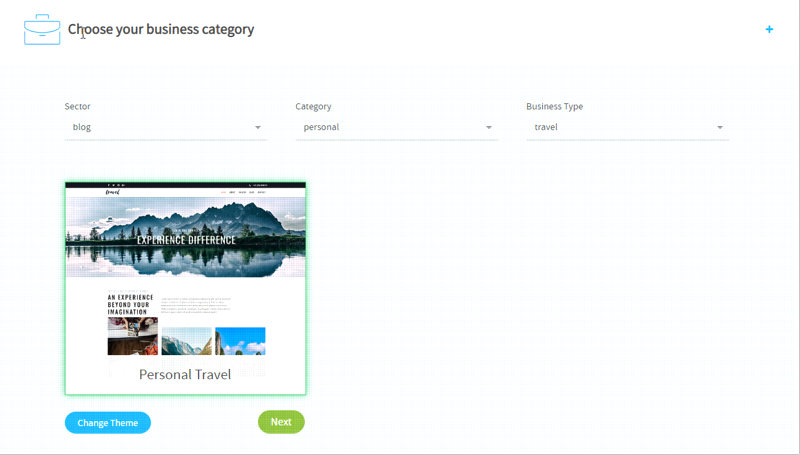
- Then, Choose your business category. Here, you need to select the type of template that you want for your site. As I wanted to create a professional website, I went with Personal Travel template.
- Then, I chose some keywords for my site.

STEP 4: Pricing
- After clicking Next, I was directed to the Pricing page.
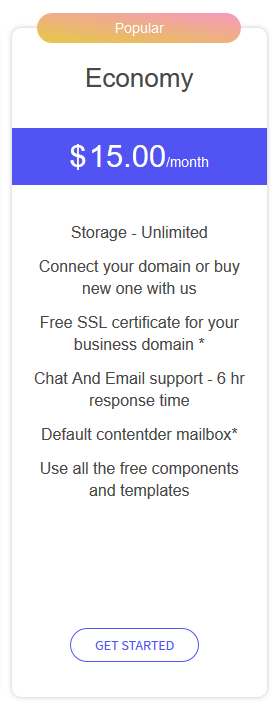
- Contentder offers various kinds of subscription plans and chose Economy Plan.
- Then, I selected the subscription period and continued to add in my payment details.
- After that, I was redirected back to the previous page where I had to enter my login credentials.
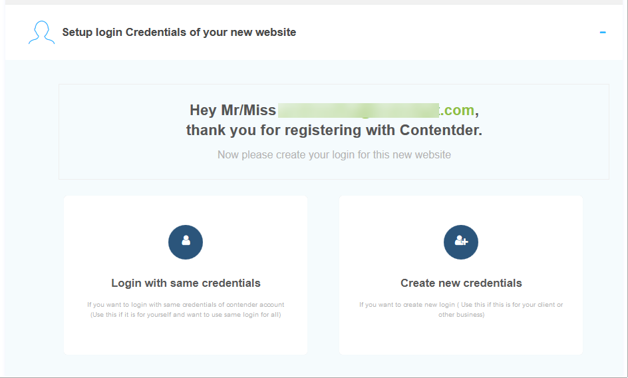
- The final step was to create my website. This took just a few minutes.
STEP 5: Edit your Site
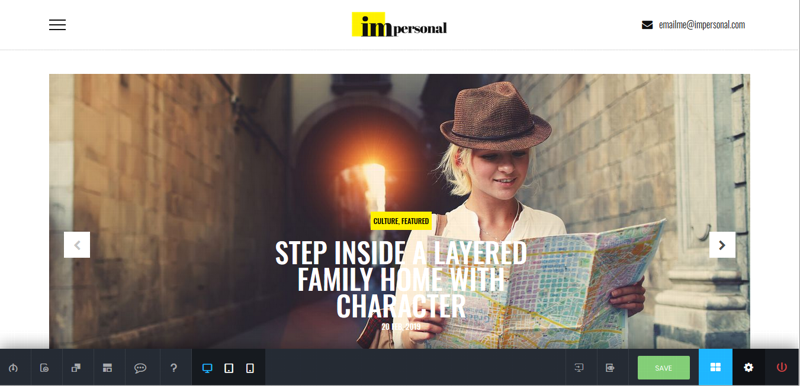
After my website was created, I was directed to the editor page, where I could add my content. The page looked something like this:
From here, you can change the images, text, heading, color, fonts, and so many other settings. You can drag and drop components and customize your website. The editor allows a very flexible customization surface to make your website your very own.
STEP 6: Mobile optimization
Contentder allows you to optimize your website for different devices like monitor, tab and phone. Some of the components are optimized beforehand, but you can also make some changes by yourself.
It was very helpful to view each of the version before publishing the site as I got to optimize it to my liking.
Overall Experience
Well, wasn’t that simple.
In just a few hours and six simple steps, I created my own website. And that too looked so professional and amazing.
Once all the steps were completed, all I had to do was add my content and click on Publish.
And Viola! My site was online.
