Response Compression Middleware in ASP.NET Core
In this article, we will learn how to compress response in middleware in Asp.Net Core. Asp.Net Core has inbuilt Response Compression Middleware for compression which by default uses GZIP compression. GZIP is a technique which used for the file compression and decomposition for faster network transfer.
What is Response Compression?
Normally, any reaction not locally compressed can profit by reaction compression. Reactions not locally compressed commonly include: CSS, JavaScript, HTML, XML, and JSON. You shouldn't pack locally compressed resources, for example, PNG documents. On the off chance that you Endeavor to further pack a locally compressed reaction, any little extra lessening in size and transmission time will probably be dominated when it took to prepare the compression. You additionally shouldn't pack records littler than around 150-1000 bytes (relies on upon the document's content and the productivity of compression), as doing as such may deliver a compressed document bigger than the record itself.
At the point when a customer can prepare compressed content, the customer must advise the server of its abilities by sending the Accept-Encoding header with the demand. At the point when a server sends compressed content, it must incorporate data in the Content-Encoding header on how the compressed reaction is encoded. Content encoding designations are appeared underneath demonstrating which ones are upheld by the middleware.
When to use Response Compression Middleware
Utilize Response Compression Middleware when we can't utilize the Dynamic Compression module in IIS, the Apache mod_deflate module, NGINX Compression, and Decompression, or your application is facilitated straightforwardly on WebListener server or Kestrel. The main motivation to utilize the server-based reaction compression advances in IIS, Apache, or Nginx is that the execution of the middleware likely won't coordinate that of the server modules.
Now let’s demonstrate by creating an application.
Creating Application
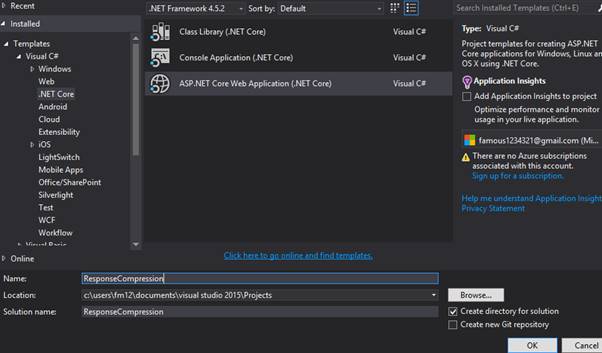
- Open Visual Studio (In my case I’m using Visual Studio update 3)
- File > New Project.
- Choose .Net Core Web Application
- Provide a suitable name for the project.
- Click on OK.
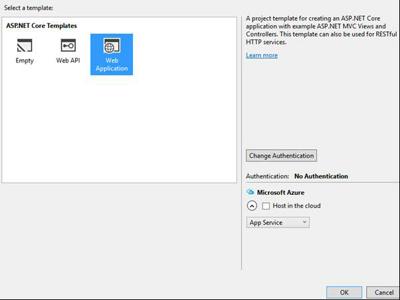
- Now choose Web Application from the template and click on Ok.
- It will take a few seconds to load our project.
Package Installation
Now the first thing we will do here is to install the package that we need for the compression. To do that:
- Right click on the project in the Solution Explorer.
- Click on Manage NuGet Packages
- Search for ‘Microsoft.Asp.NetCore.ResponseCompression’
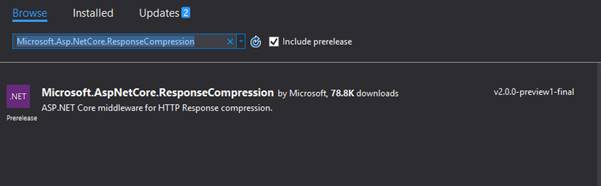
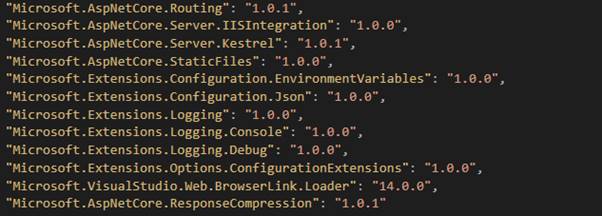
Install the package then it will automatically be enlisted in the project.json file.
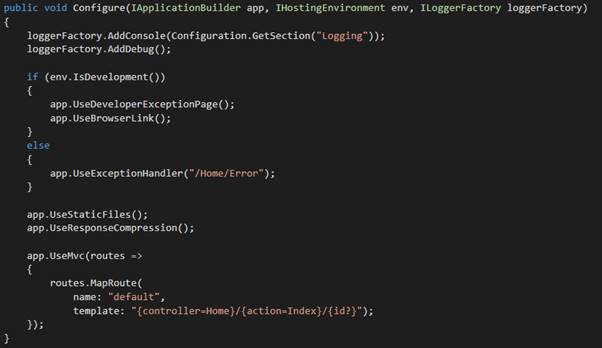
Now let’s add the service in the Startup class in the ConfigureServices method as shown in the code snippet below:

As we know now that by default, Asp.Net Core uses GZIP compression, so now let’s add this middleware to HTTP pipeline. Add the following code in the configure method of Startup class as shown in the code snippet below:
Creating WebAPI:
- Now let’s create an API Controller to access the data.
- Right Click on the controller folder >> Add >> New Item.
- Choose Web API Controller class from the template.
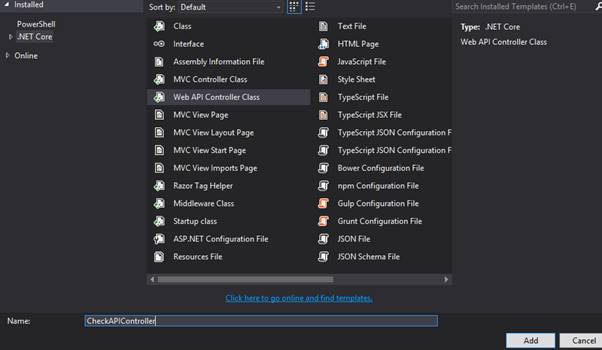
- Provide name as ‘CheckController’ or any other.
- And Click on Add.
Now let’s add the code in it as shown in the code snippet below:

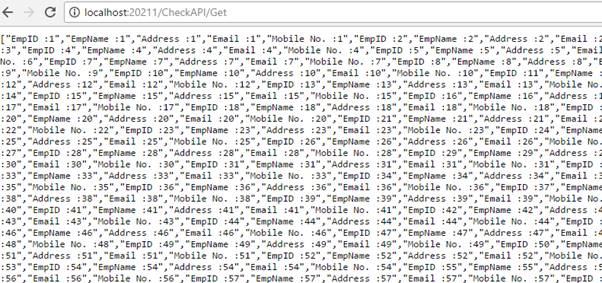
Now let’s run the application and navigate to CheckAPI/Get, we need to get the following output:
Now press F12 and navigate to Network and press f5 to reload the application, we can see the transfer rate and time it took to load the data:

Now let’s stop the project and comment on the lines that we added in Startup class i.e ‘services.AddResponseCompression from the ConfigureServices method and ‘app.UseResponseCompression’ from Configure method. And the application again and navigate to the Get function of API Controller.
Press F12 and navigate to Network and see the transfer rate and time. It must be higher than earlier.

As we can see the time it took was higher when we did not use the compression.